Material Identification and Surface Restoration
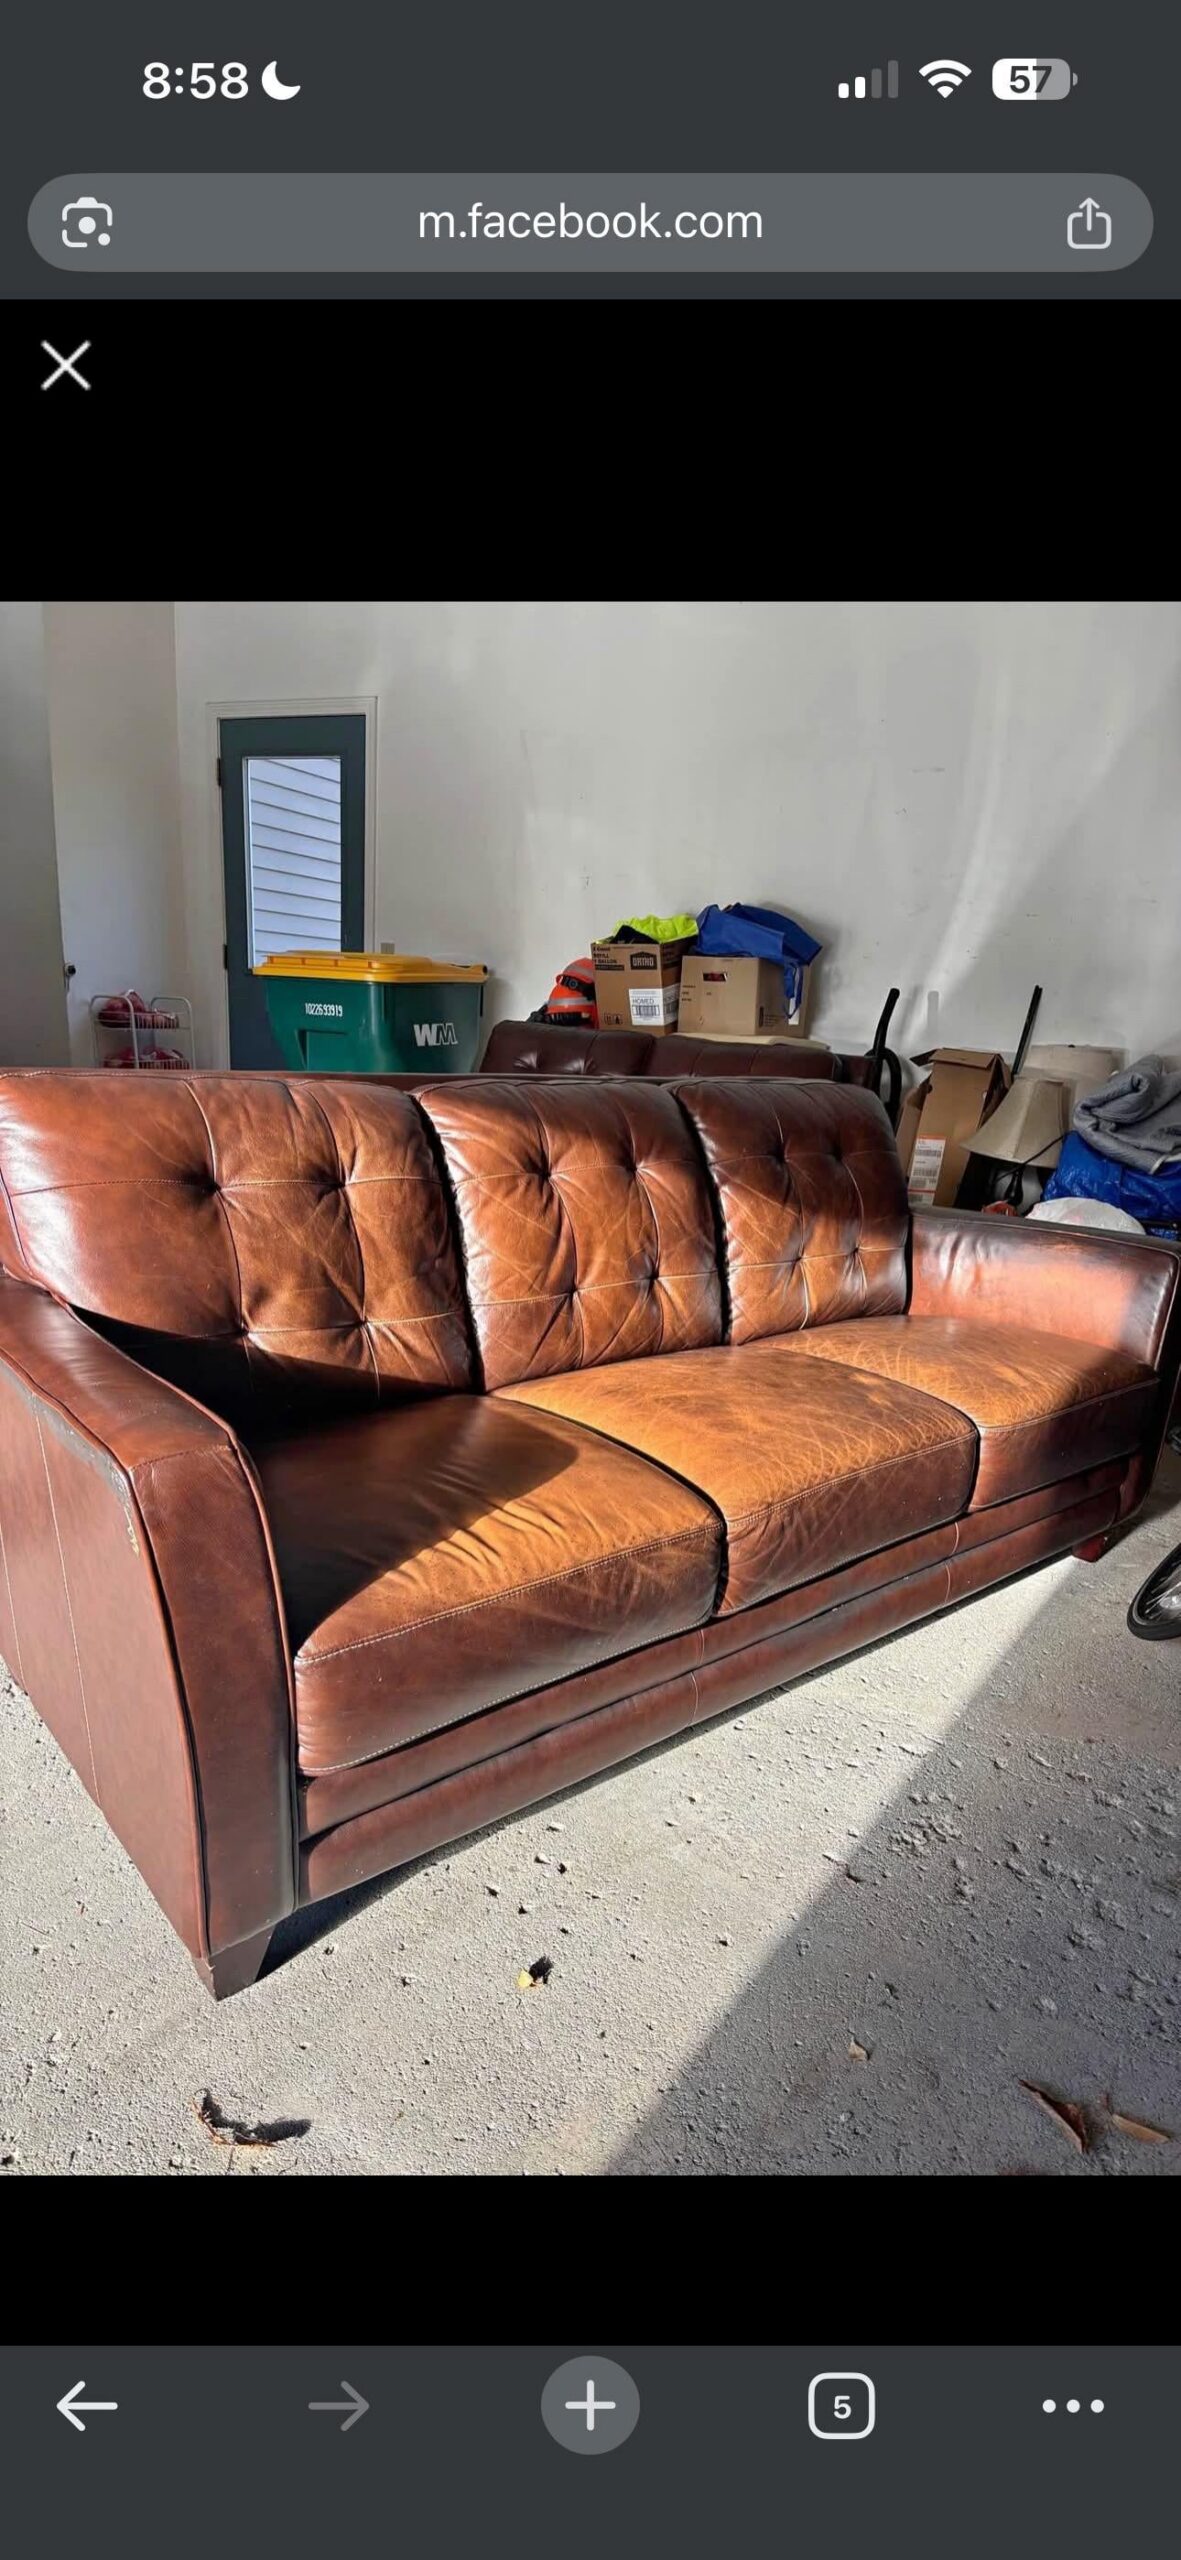
Determining if a second-hand La-Z-Boy couch is genuine leather, bonded leather, or a “leather match” hybrid is the first critical step. Misidentifying the material leads to total repair failure.
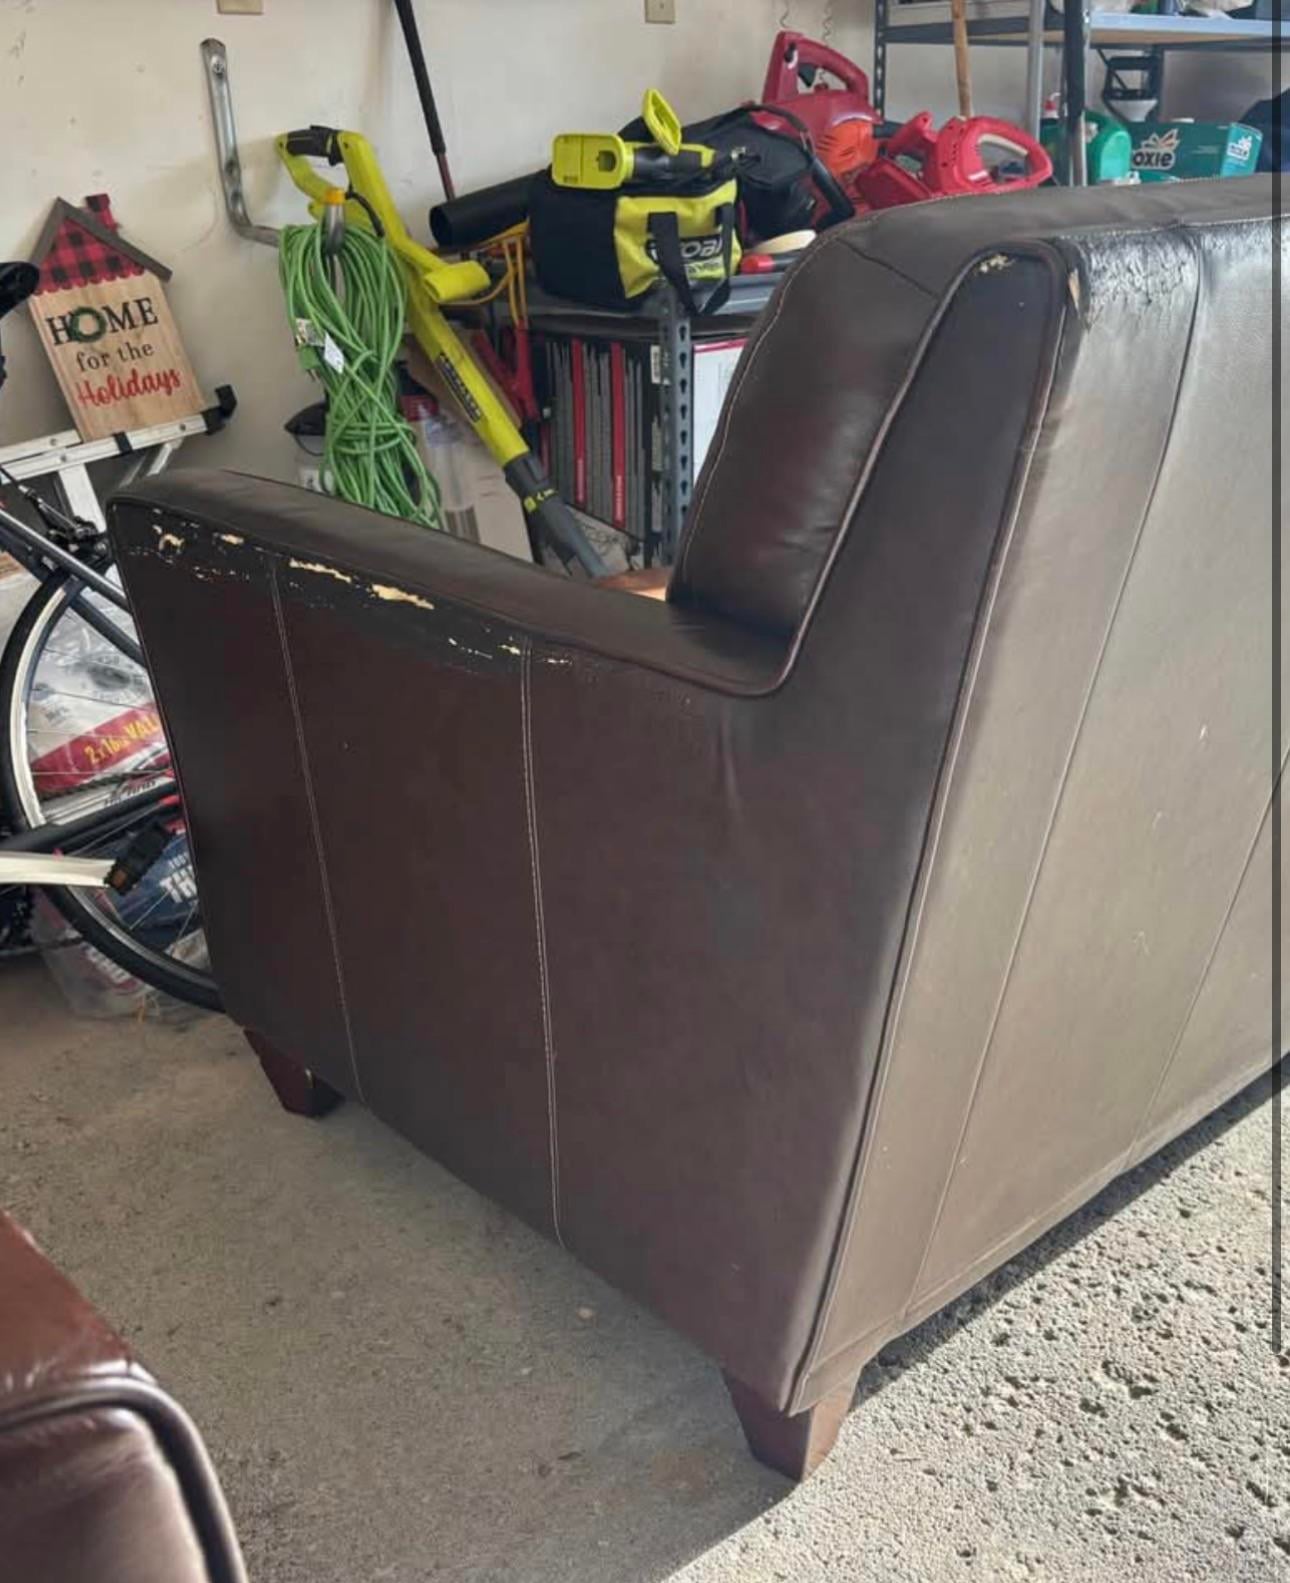
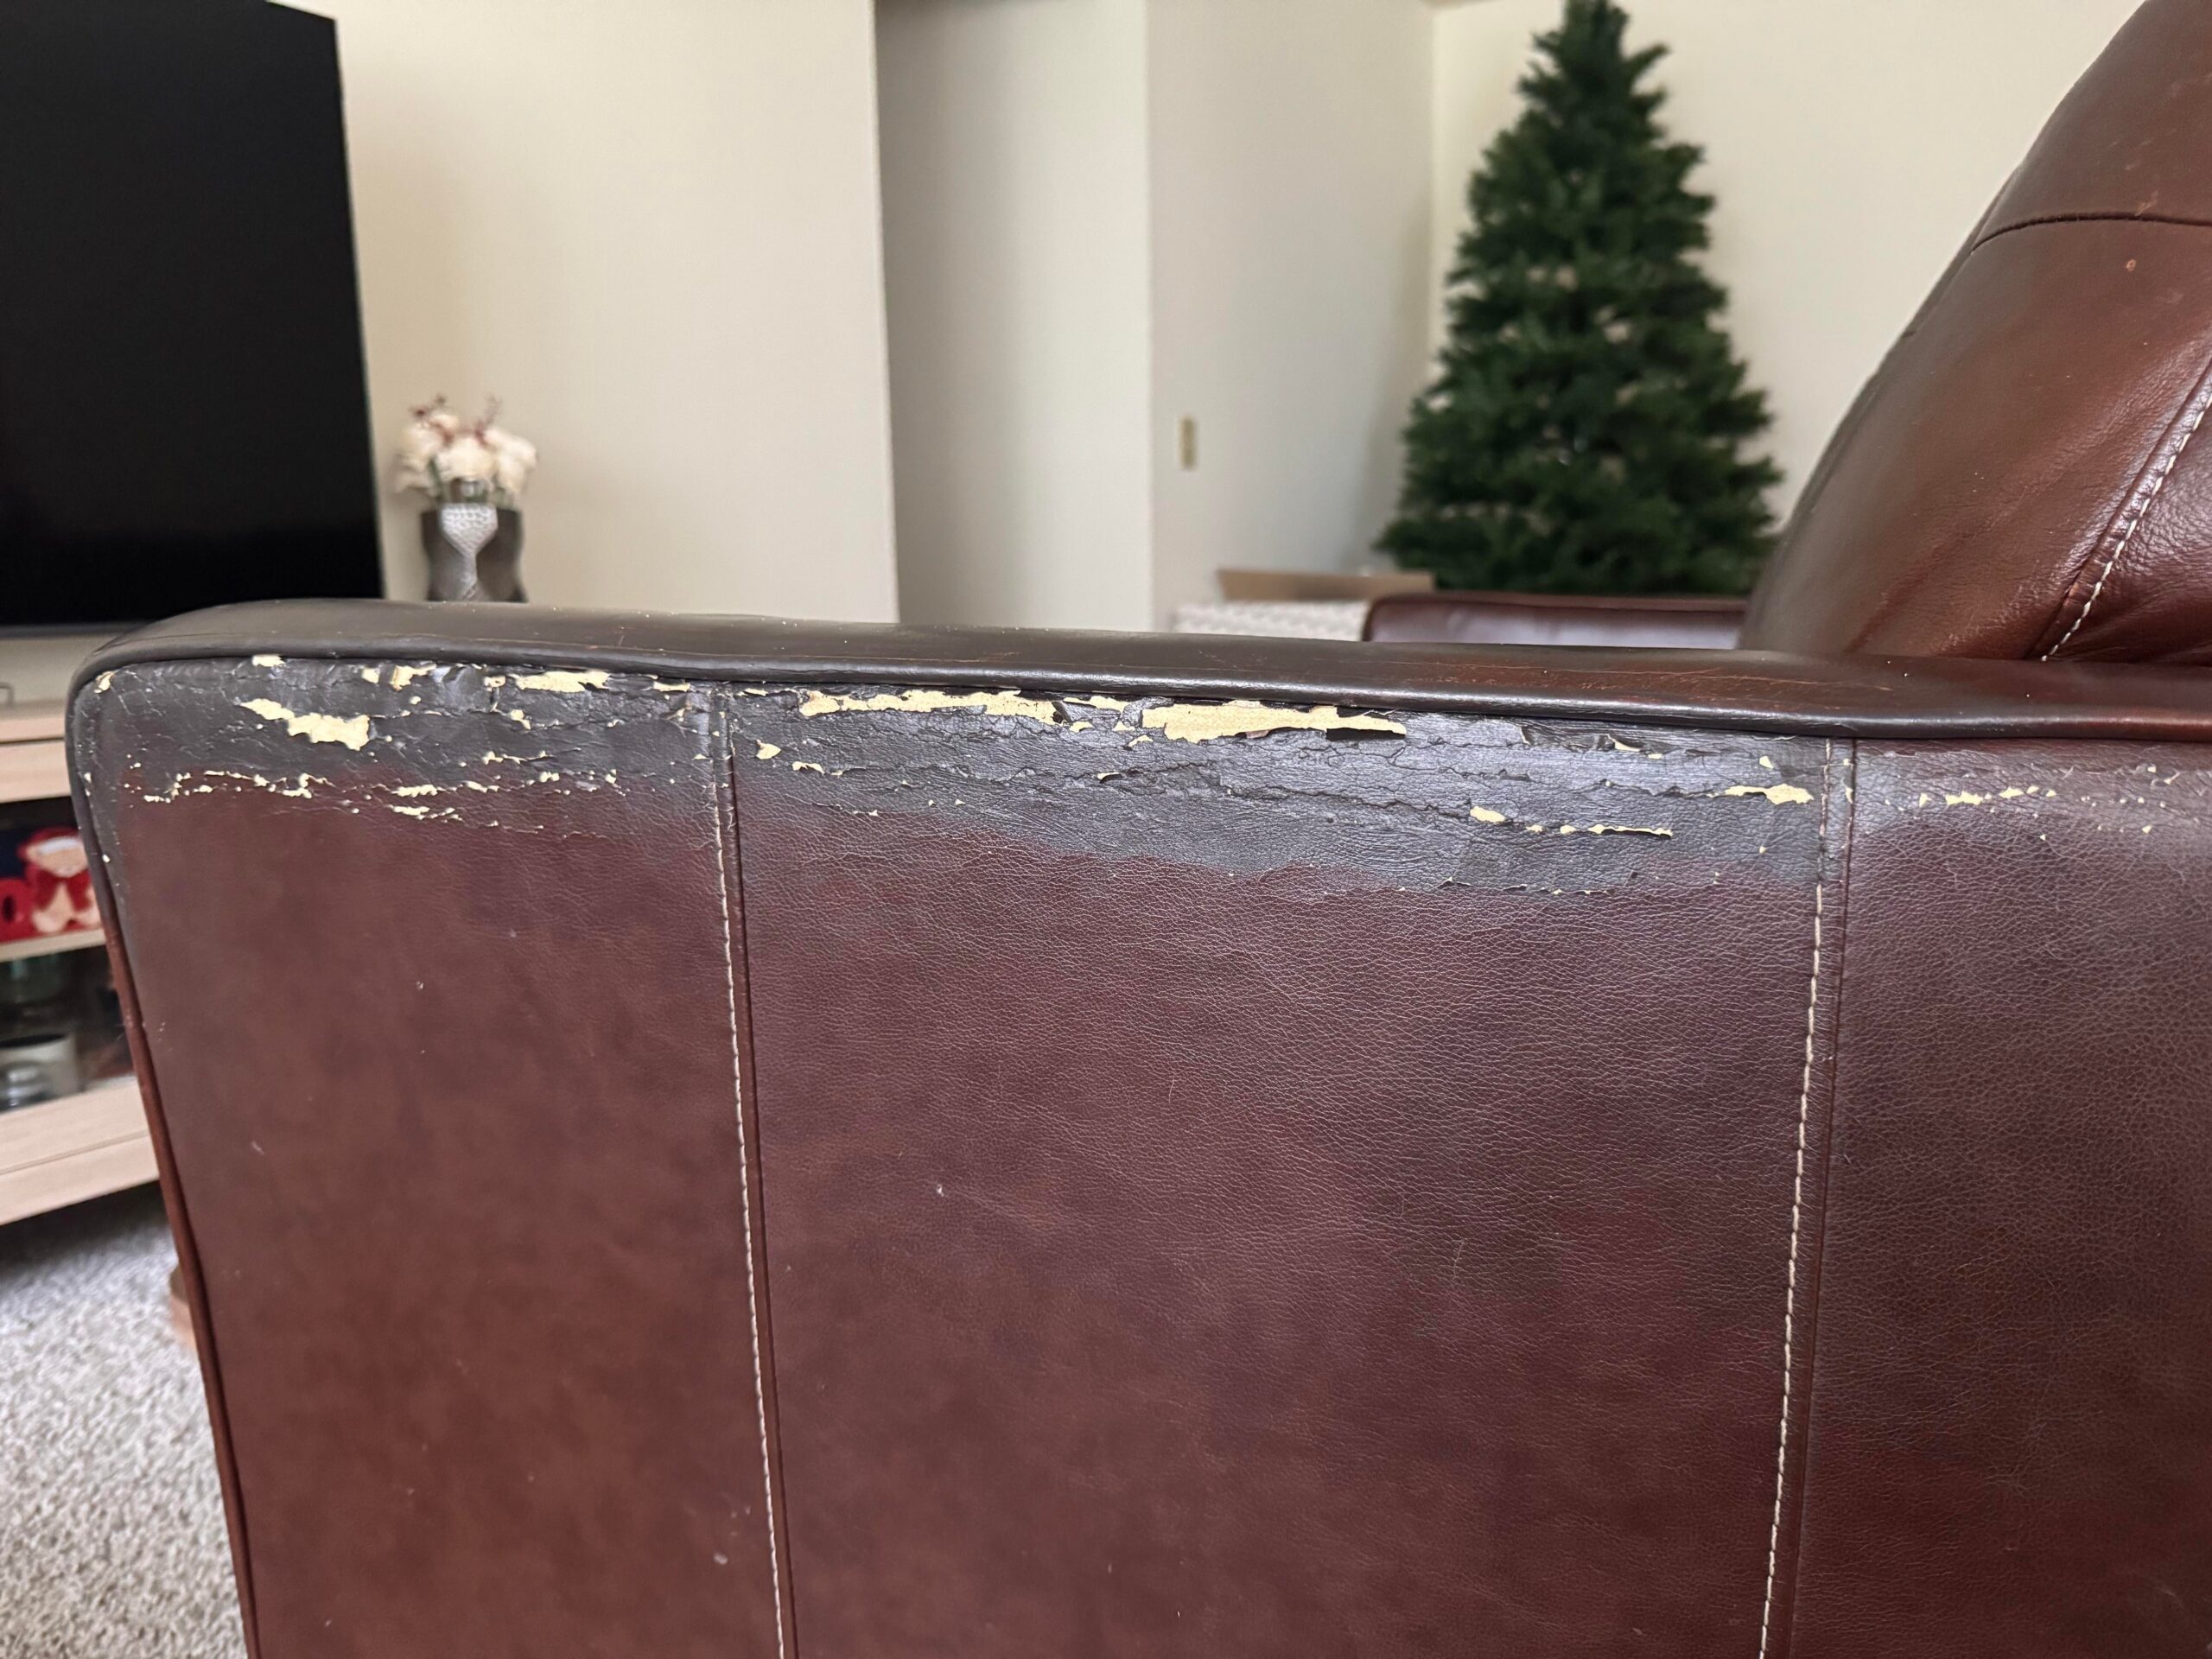
Severe surface degradation like cracking and peeling on high-wear areas, such as arms and top back edges, often indicates either extreme dehydration or synthetic delamination.
The standard DIY workflow of conditioning before filling is a procedural flaw. Applying oils to a damaged surface prevents fillers and dyes from adhering, causing the repair to peel within weeks.
Symptoms of Leather Failure
Visible fissures or “cracking” along the arms and top backrest indicate the protective topcoat has failed. This is common in areas exposed to hair oils and frequent friction.
Peeling occurs when the top layer of the material lifts or flakes away from the backing. If the material feels like leather but peels in sheets, it is likely a synthetic hybrid.
Sensory cues can be deceiving. Many bonded materials use leather scraps in the backing to mimic the smell of genuine hide, masking a polyurethane (PU) surface.
Likely Causes of Degradation
In bonded or bi-cast leather, the PU topcoat undergoes hydrolysis. Body oils and humidity cause the plastic layer to delaminate from the reconstituted pulp backing.
Genuine finished leather fails due to severe dehydration. When the protective clear coat and pigment layer dry out, they fracture under the repeated flexing of daily use.
La-Z-Boy often utilizes “leather match” construction. Genuine leather is used on seating surfaces, while matching vinyl or bonded leather is used on the outer arms and back panels.
Bench-Level Diagnostic Tests
The Edge Inspection
Examine the peeling area closely. If the underside shows a woven fabric mesh or a uniform, cardboard-like pulp, you are dealing with bonded leather or vinyl.
If you see a fibrous, suede-like nap underneath the cracked finish, the material is genuine top-grain or corrected-grain leather. This distinction dictates if a repair is possible.
The Flake Test
Pick at a peeling edge with a fingernail. Real leather finishes may crack or chip in small bits, but they rarely peel off in large, stretchy, plastic-like sheets.
The Solvent Test
Apply 100% acetone to a Q-tip and rub a hidden spot. Acetone strips color from real leather. On bonded leather or vinyl, it will melt the surface and make it gummy.
Real Leather Restoration Protocol
If diagnostics confirm the material is genuine leather, follow this professional bench sequence. If the material is bonded leather, professional repair is generally not viable.
- Degrease and Prep: Wipe cracked areas with a leather prep solvent or denatured alcohol. You must strip all body oils and old topcoats to ensure adhesion.
- Sand the Edges: Use 600-grit wet/dry sandpaper to “feather” the edges of the cracks. This blends the damaged area smoothly into the surrounding raw hide.
- Apply Leather Filler: Use a flexible palette knife to spread high-quality leather filler into the fissures. Apply in paper-thin layers rather than one thick coat.
- Cure and Sand: Dry each layer with a heat gun on low. Once cured, sand with 800-grit paper. Repeat until the surface is flush with the surrounding leather.
- Color Match and Dye: Sponge color-matched leather pigment over the area. Stipple the application to mimic natural grain. Apply 2 to 3 thin coats, drying between each.
- Seal the Finish: Apply a clear leather topcoat in a satin or matte finish. This locks in the pigment and provides a new wear layer for the repair.
- Condition: Apply a professional leather conditioner only after the repair is fully cured to restore moisture to the surrounding un-repaired panels.
Critical Repair Cautions
Never condition leather before performing repairs. Conditioners introduce waxes that act as a release agent, causing 100% adhesion failure for fillers and dyes.
Avoid rigid fillers like wood putty, Bondo, or superglue. Leather is a flexible substrate; repair materials must be specifically formulated for high elasticity to prevent re-cracking.
Manage expectations for high-stress zones. Arms and headrests take the brunt of friction and oils. Even a perfect bench repair has a limited lifespan under heavy daily use.
Frequently Asked Questions
Should I condition the leather before applying filler to soften it up?
No. This is a common mistake. Fillers and dyes require a bone-dry, oil-free surface for mechanical adhesion. Prep and repair first, then condition the surrounding areas last.
If the peeling areas are bonded leather, can I stop it from spreading?
No. Peeling in bonded leather is a chemical breakdown called hydrolysis. Once it starts, the integrity of the panel is gone. Your only options are patches, slipcovers, or reupholstery.
What grit sandpaper is safe to use on leather without destroying the grain?
Start with 400 or 600-grit for feathering edges. Use 800 to 1000-grit for smoothing filler. Never use coarser than 400-grit, or you will tear the corium fibers and create a fuzzy surface.